

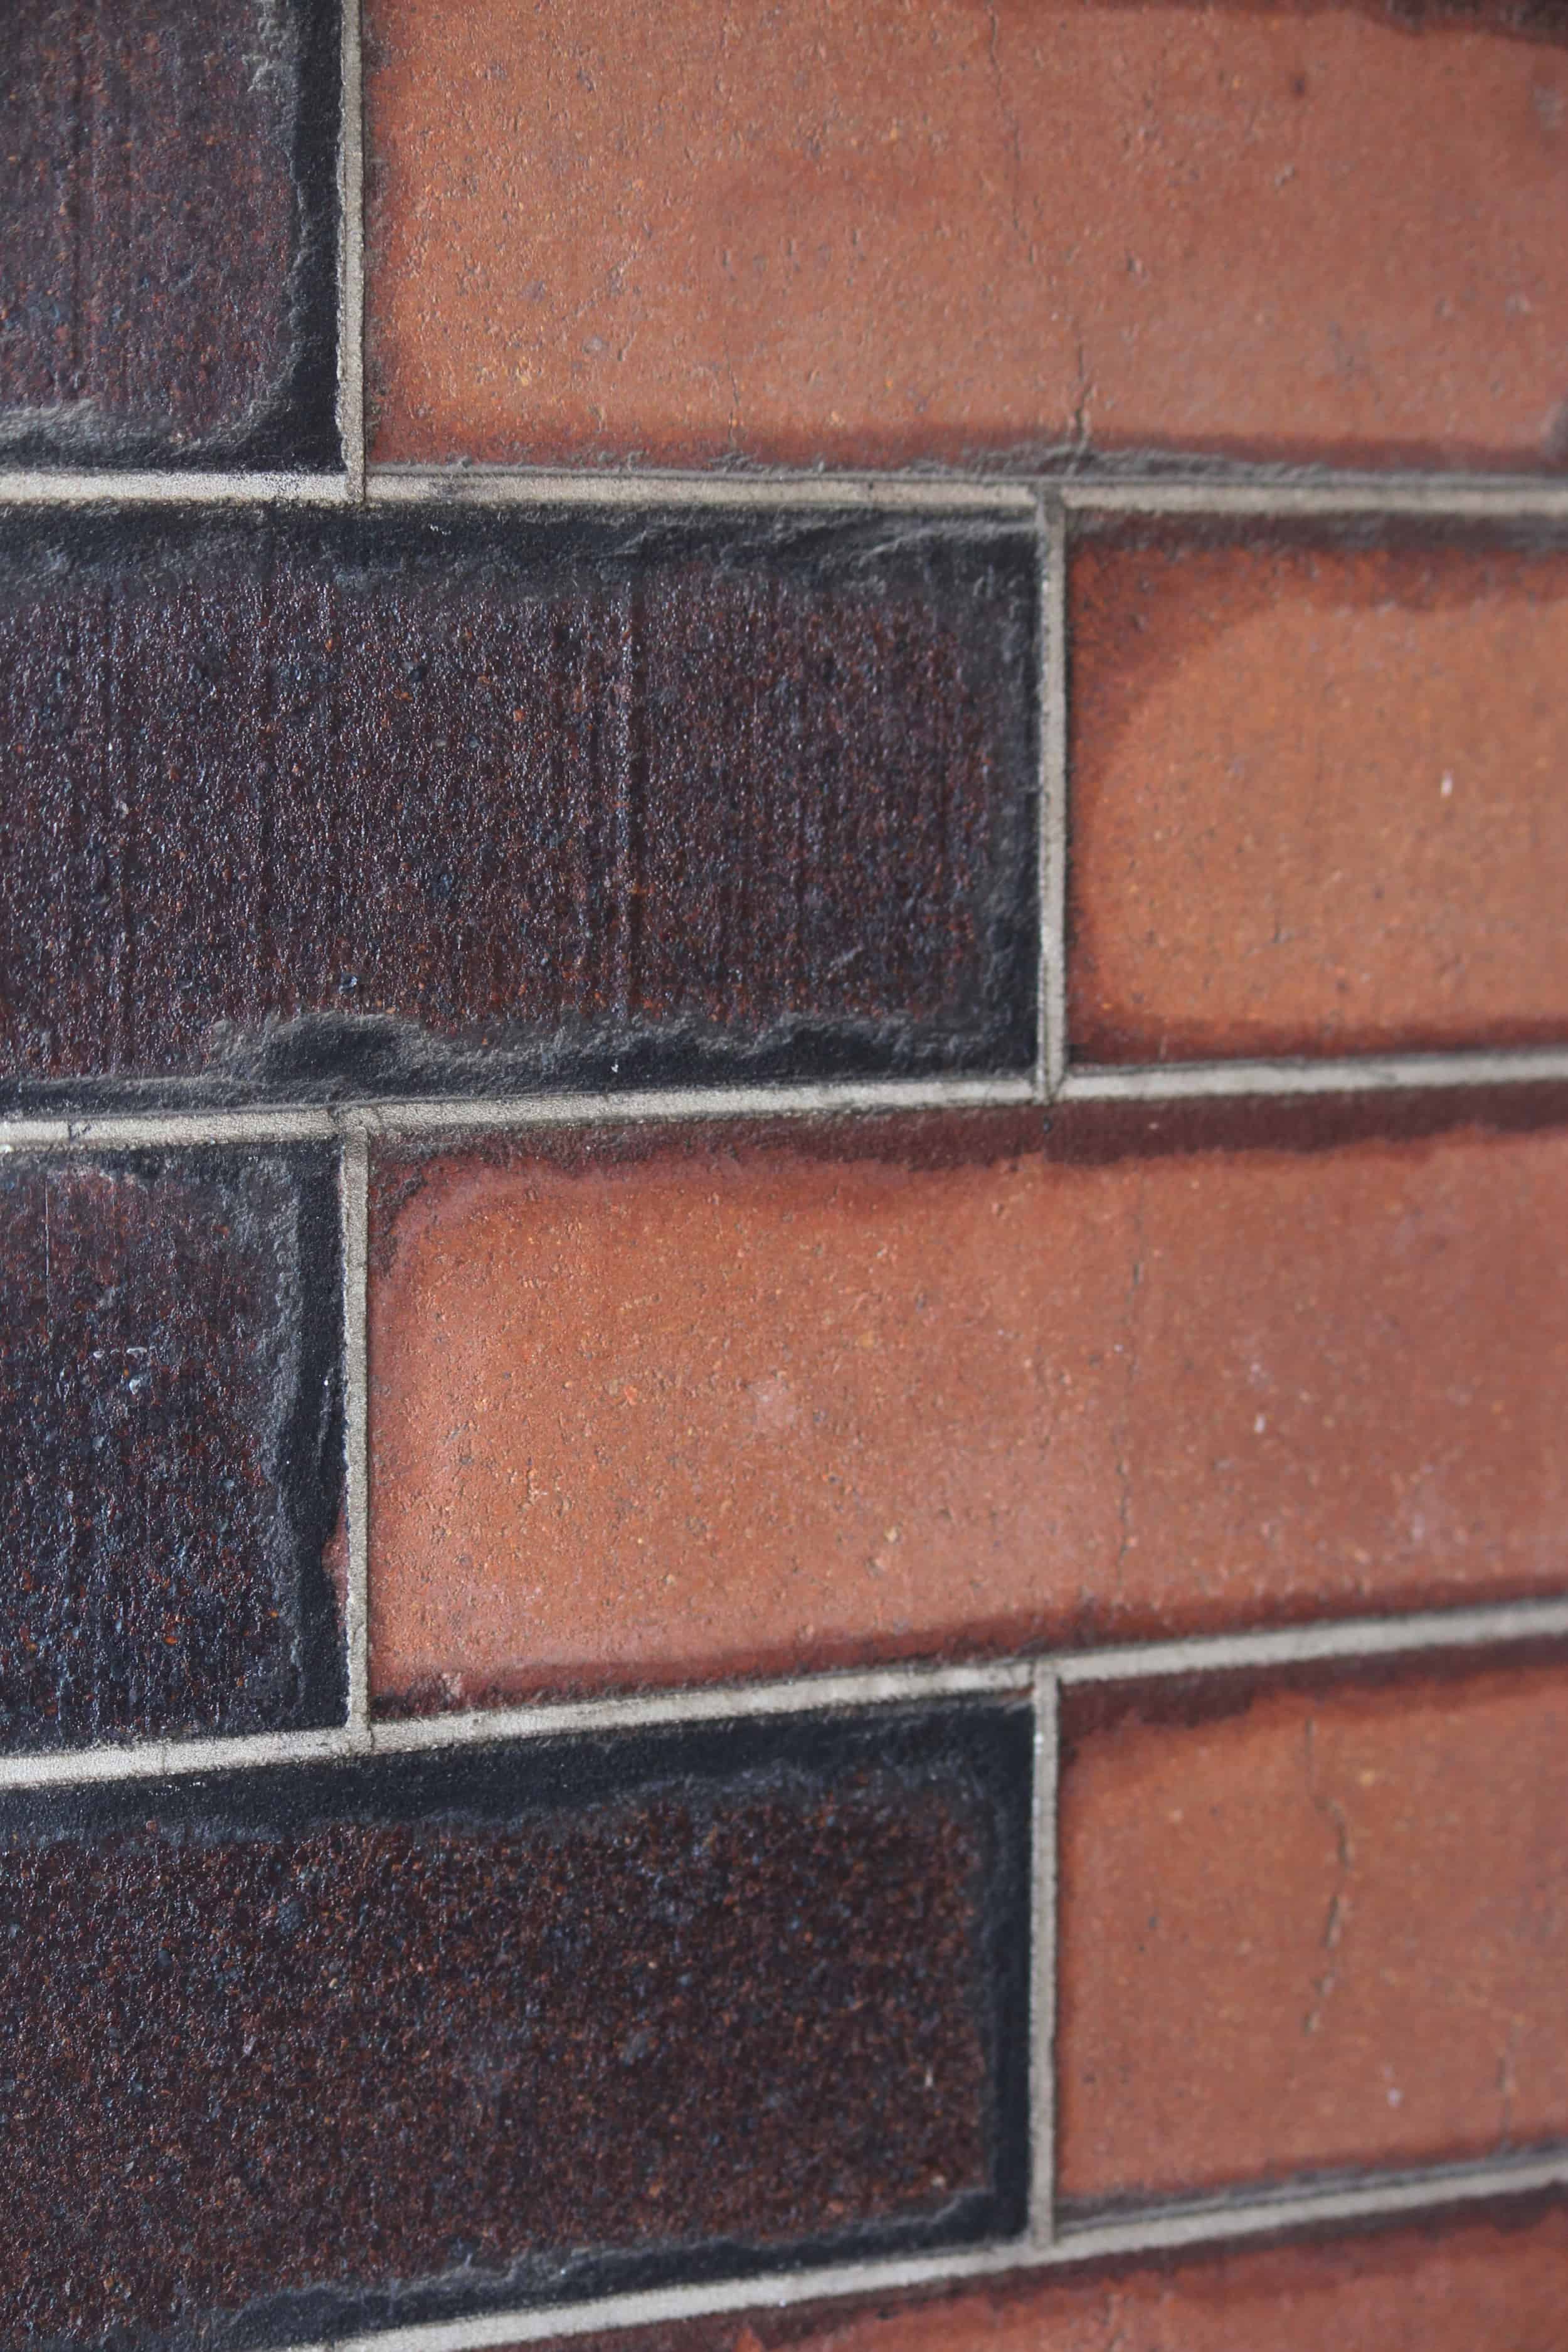
Tuckpointing is restoration masonry work that replaces old mortar between the bricks of a house or a chimney with matching mortar and adds a thin line of putty of a different color for effect. Tuckpointing is done for structural and aesthetic reasons to keep water out of brickwork while also improving the look of your bricks.
It isn’t difficult to go online and search for what is tuckpointing and be directed to an article or video that instead shows you repointing. It’s worth discussing the processes and differences between tuckpointing vs repointing to understand how and why you would do each one.
Repointing vs tuckpointing
Repointing and tuckpointing are similar but tuckpointing involves an extra step, more work and additional skill.
Repointing
Pointing refers to the process of filling the area between bricks with mortar during the building process. The area itself is also referred to as the pointing. Repointing is when you remove old damaged mortar and replace it to match the current color of existing mortar. It’s a maintenance and repair project to improve the look of the brickwork but also to protect the bricks from water and other damage.
Tuckpointing
Tuckpointing is repointing with the additional step of matching the mortar to the color of the bricks and then adding a thin straight line of putty of a contrasting color to give the look of tight, straight joints in between the brickwork. The joint is the area of mortar in between the bricks. So if the bricks are a dark red or brown color, the contrasting thin line could be white for example. Since the mortar between the bricks matches the color of the bricks, your eyes are drawn to the white line of putty which makes you believe that it is mortar.
While both repointing and tuckpointing are done to improve the look of the brickwork, they are also done to repair cracked, damaged or missing mortar to protect against water getting in behind the bricks.
Steps involved in tuckpointing
- Remove damaged mortar. The line of mortar to be repaired is removed from between the bricks in question. This is typically done using an electric grinder, a saw or manually with a hammer and chisel. About 1″ of mortar is removed.
- Refill the space with fresh mortar that matches the color of the bricks. Using a tuckpointing bag, fresh mortar is squeezed into the gap created by the removal of the old mortar. The mortar is colored to closely match the brick color. Enough mortar is applied to completely fill the space between the bricks.
- Shape the mortar. A finishing tool is used to manually shape the mortar so that it remains flush with the bricks to help create the appearance that the brick and mortar are one.
- Add a thin contrasting line of putty: Using a straight edge, a thin line of putty of a color that contrasts with the mortar and brick color is added in between the bricks. The putty is shaped to be straight and razor sharp.
- Brush the bricks to finish. Using a mason’s brush, loose debris is brushed away to clean the bricks and mortar.
Can you do tuckpointing yourself?
While a handy person can do basic repointing work themselves, it’s better to leave the work to a professional and this is more pronounced with tuckpointing. A masonry professional who has actual experience and skills with tuckpointing should do the work given the skills required. Not all masons have tuckpointing experience so it’s important to choose someone who does.
One of the most difficult and challenging aspects of tuckpointing is matching the old existing mortar with the new mortar you are replacing it with. More skill is required to then properly and expertly apply the thin contrasting line of putty. An experienced skilled mason will be able to do this consistently but the average amateur doing a DIY project cannot.
If you have cracked bricks, you will need to have the affected bricks completely removed and replaced. This is certainly work that needs to be done by a professional mason. Ask for references and pictures of work they’ve done in the recent past to see their handiwork.
Why do you need tuckpointing?
While bricks can last 100 years or more, mortar may need replacement or repair after 20 or 30 years. As mentioned above, tuckpointing is done for both aesthetic reasons to improve the look of damaged or missing mortar and also to protect the brick work. If water gets behind bricks it can further damage the existing mortar and the bricks too.
Tuckpointing can also be done to change the look of your bricks if you have a current style and color of mortar but desire another. Mortar can also be applied in different styles – a concave and v-shaped style are common – so tuckpointing can be used to replace that look with something different.
Where is tuckpointing typically done?
Tuckpointing is often done on old historic brick homes to match the original look of the brickwork when the home was newly built. It can also be done on newer homes for an updated look.
Tuckpointing can also be done on brick chimneys which bear the brunt of difficult weather conditions and the heat and smoke from a fireplace too. The moisture and subsequent damage to the mortar and brickwork may cause you to need to repoint or tuckpoint the mortar sooner than other parts of your home.

The cost of tuckpointing vs. repointing
Tuckpointing is typically priced by square footage. You can expect to pay between $5 and $25 per square foot depending on where you live and the availability of qualified masons. Repointing typically costs $3 – $15 per square foot. The higher the work the more you’ll pay especially if it involves adding scaffolding. Expect to pay up to 50% more if the work is on the chimney which involves accessing the roof of your home.
The price can also be impacted by the type of mortar used:
- Tuckpointing cement: $25 per gallon
- Lime tuckpointing: $30 per gallon
- Tuckpointing caulk: $50 per gallon
Most of the price you pay is for the labor involved since the materials used are basically the mortar and putty. So as you can imagine, you’re paying largely for the skill and experience of the mason doing the work.
Here is a short video that shows the tuckpointing process. Pay special attention to the application of the thin white line of putty that illustrates the real skill involved in the work.