The faucet aerator is the little discussed component that screws on the end of a tap. It has a small screen inside that introduces air into the water to increase the perceived water flow. It also acts as a filter of sorts to trap sand and other sediment, controls water flow and prevents splashing.
Over time aerators can become clogged with sand and black gunk that you can’t actually see since it’s trapped inside the filter. What should you do? Some aerators may have been tightly installed and won’t budge if they have calcium deposits on them.
Clean your kitchen and bathroom aerators at least once every 3 months to prevent restricted water flow while also ensuring that the water isn’t constantly running through a dirty screen. Aerators should be replaced as needed to ensure cleanliness and proper flow before they get calcified.
Why you should clean your faucet aerators
The main reasons for cleaning your aerator are to:
- Ensure clean water flows through it rather than continuously running it through black gunk and sand especially from the kitchen faucet drinking water.
- Remove lead or other hazardous substances that may have made their way into the water supply from corrosion of leaded solder from older piping.
- Prevent water flow from being restricted from a clogged filter.
- Avoid calcium and limescale deposits that are difficult if not impossible to remove manually.
Homeowners pay for water in three ways: You pay for the water itself. You pay for water to be heated typically through a gas or electrically-powered water heater. And you pay for the disposal of wastewater through municipal taxes.
While learning how to reduce your water usage can save money, you also need to ensure that the clean water that is delivered to your home isn’t dirtied through lack of maintenance on your part. If your kitchen water seems to taste a bit off, take a close look at the faucet and aerator specifically and clean it out.
Dirty faucet aerators that haven’t been cleaned

Aerator filter (inside view) 
Aerator head (outside view)
Above is a top and bottom view of the aerator filter in my bathroom. Clearly I haven’t cleaned them in some time.
On the left is the inside of the aerator that shows the blue filter and black gasket. You can see debris inside the filter as well as on the threading and side of the aerator.
On the right side is a bottom view of the aerator which is where the water exits the aerator and faucet itself. It’s very dirty and has calcium deposits that I’m finding difficult to remove. I clearly should have washed it earlier but given how it’s hidden from view, the aerator isn’t something that is typically top of mind for maintenance.
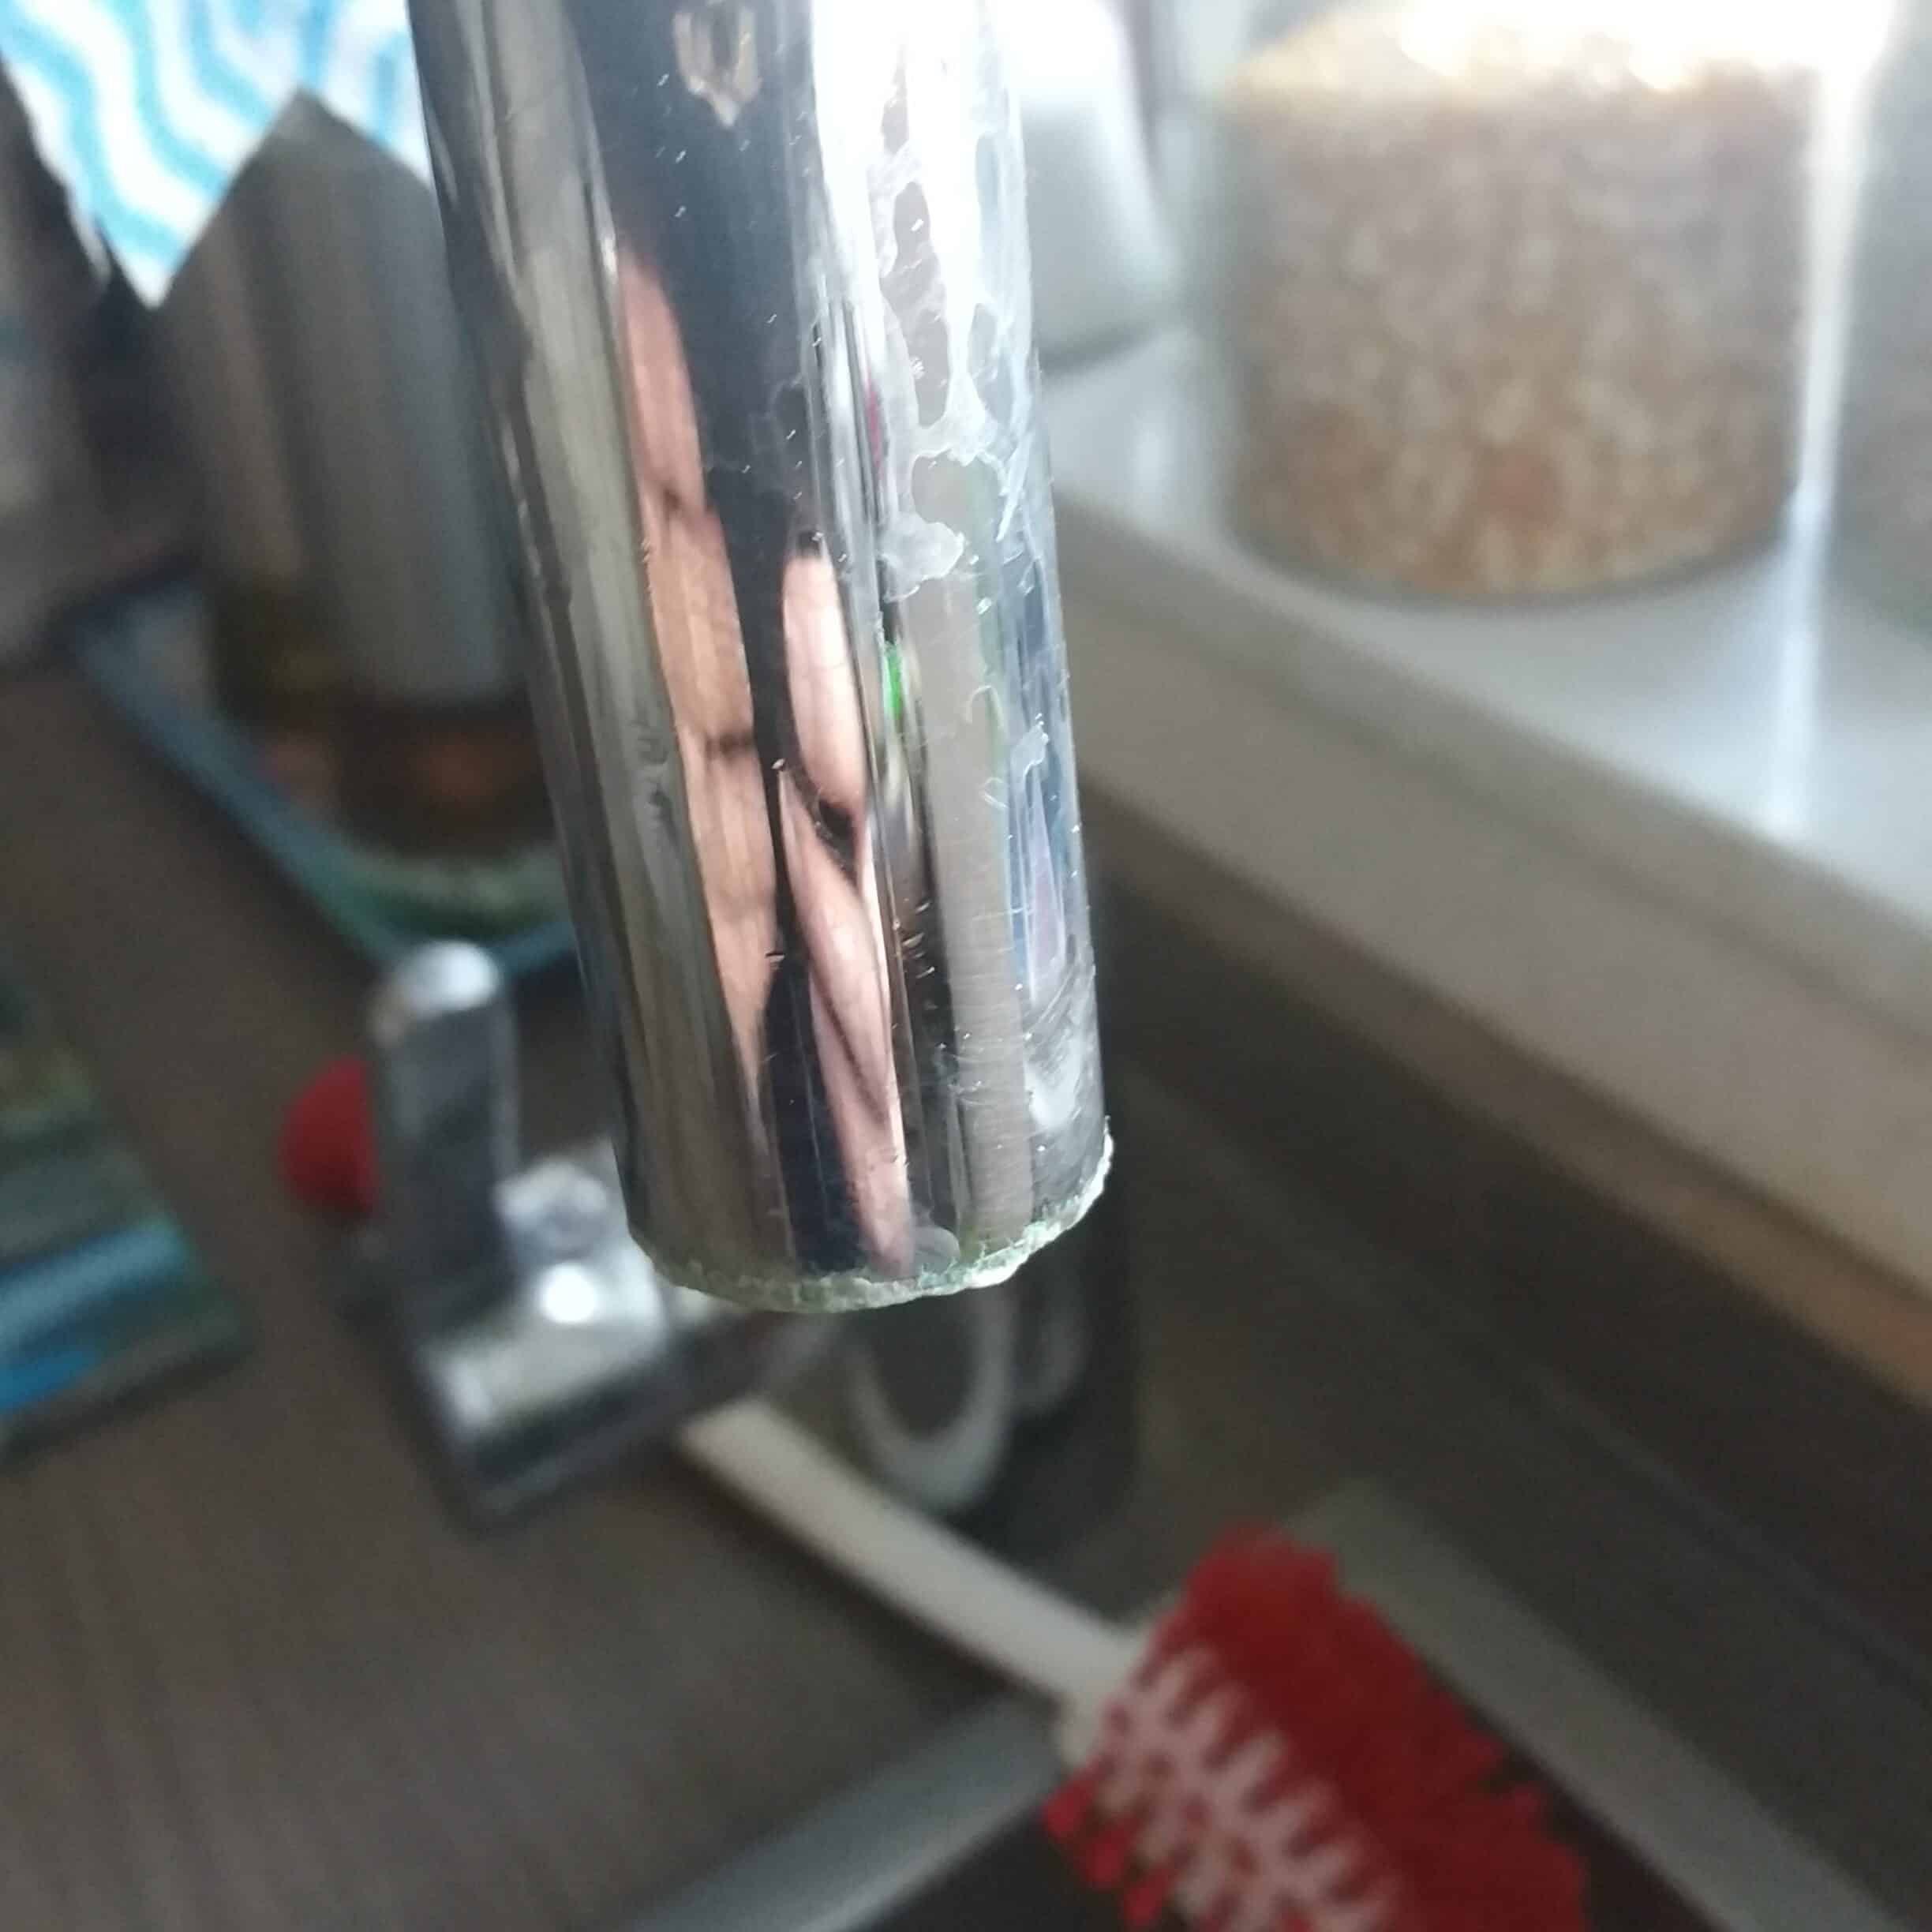
Kitchen faucet aerators can be difficult to remove

If you look at the kitchen aerator above you can see calcium deposits on the end of the faucet that are caked on and difficult to remove. Although it’s difficult to see, the threading for the aerator filter is very thin. In other words it’s already difficult to unscrew the aerator since the filter is so thin but it’s made more challenging because of the calcium build up.
How to clean calcium and hard water deposits from faucets
Before using any chemicals or other liquid on faucets to clean them, check your owner’s manual if you have them handy. Consult the manufacturer website if you can’t find it. You want to ensure that you don’t ruin the finish on a chrome faucet by using a harsh substance that can damage it.
The main way to avoid it is to clean faucets regularly before the deposit is allowed to set in. Typically, there are a few easy ways to clean off a hard water deposit once they have hardened:
White vinegar: Soak a rag or other towel in white vinegar and cover the part of the faucet with the calcium deposit with the wet rag. Leave it for 30 minutes. After the time has elapsed, either gently scrub the residue off with a non-scratching sponge or leave the rag in place for another 30 minutes or longer until the deposit is soft enough to remove.
Lemon juice: Limescale removal is particularly difficult to accomplish but lemon juice may do the trick. The important part is ensuring that the lemon juice is consistently in touch with the part of the faucet to soak for at least an hour. One method is to fill a small cup – an empty yogurt cup for example – with an amount of lemon juice. Stick the cup underneath the tap so that the lemon juice is in contact with the faucet and either prop the cup up from underneath or fasten the cup and tap to hold everything in place. Then wipe the residue off after the hour has passed or repeat until clean.

Summary
Should you clean your faucet aerators? You should definitely clean them out to remove sediment and debris to avoid water flow restriction. But you should also wash the aerators themselves to prevent limescale or calcium deposits from hardening as they are difficult to remove.
If you regularly see water deposits on faucets and other water-using appliances in your home and you don’t have a water softener, it’s likely that you have hard water full of minerals that should be softened.


