

Has the grout in your shower gone from white to brown and you can’t figure out how to clean it?
Forget the chemical products and don’t believe people when they say you can simply spray something on the grout, wait 10 minutes and easily wipe it clean with a rag. It’s going to take a bit more work than that but you can get your shower tile grout clean by doing the following.
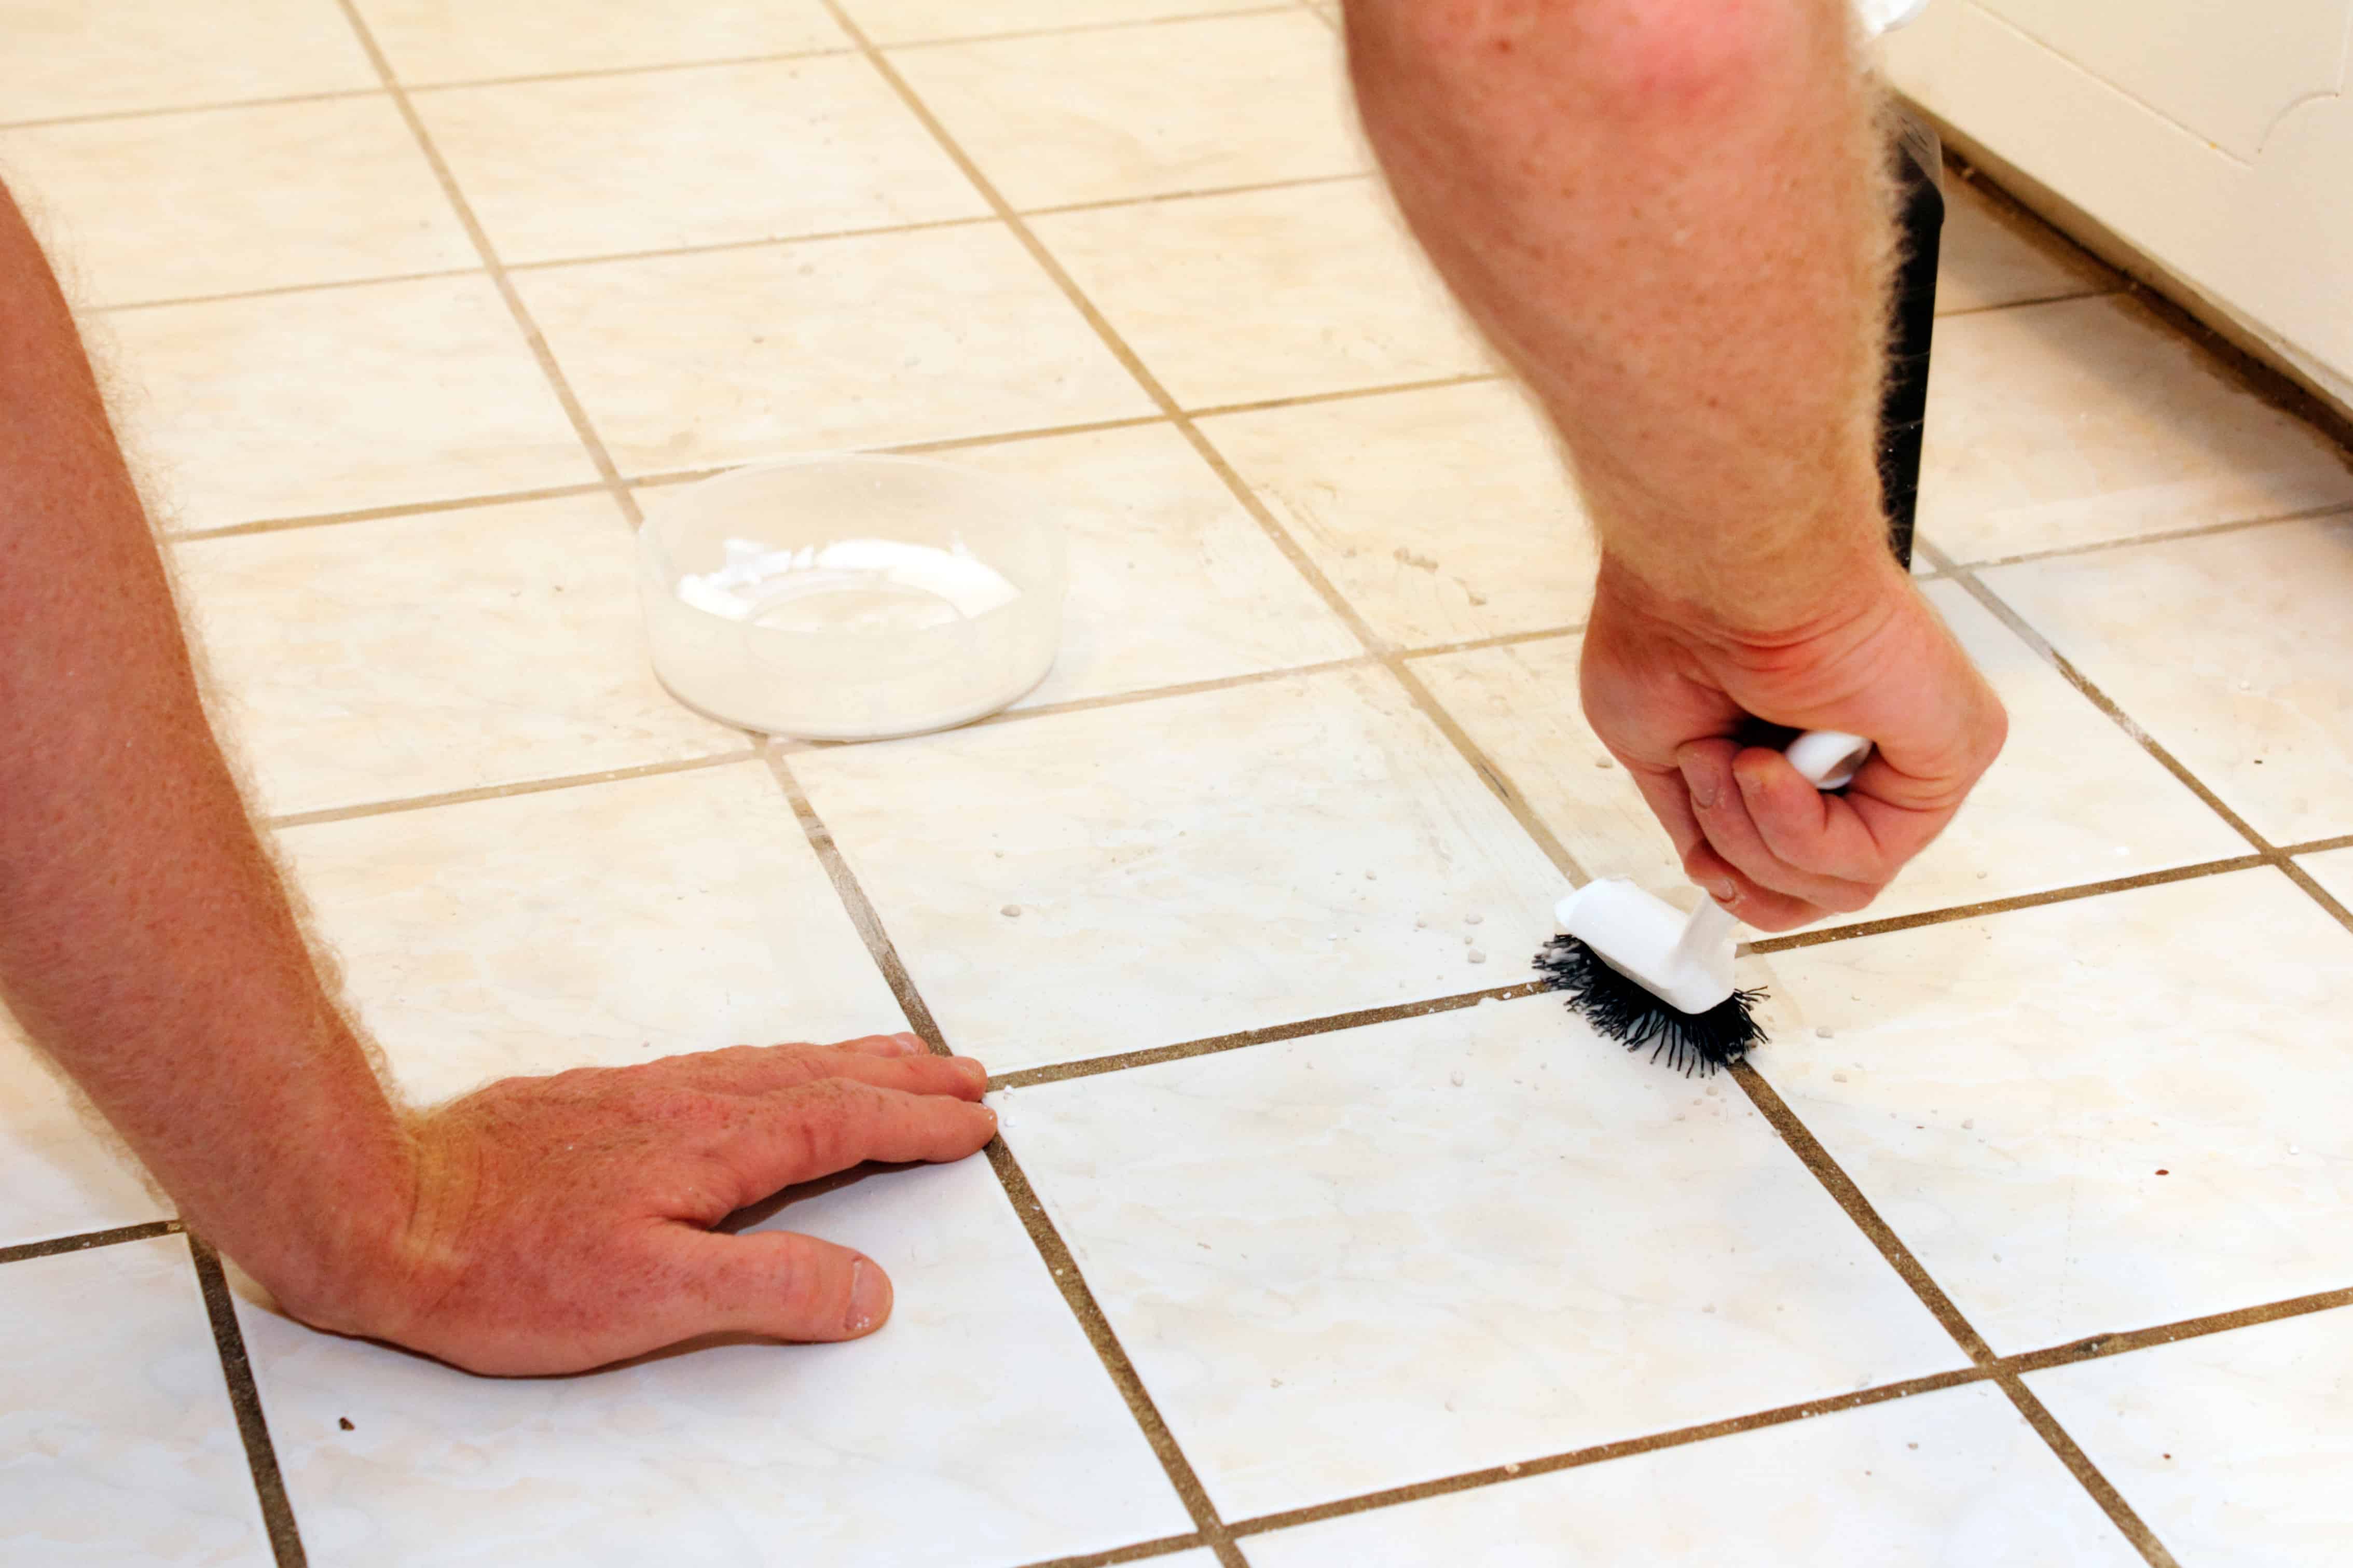
Mix a paste of 1/2 cup of baking soda, 1/4 cup of hydrogen peroxide and add a teaspoon of dish liquid in a bowl. Use a toothbrush to apply the paste to the grout. Let it sit for 10 minutes or more and then scrub the grout with the toothbrush. Rinse and repeat if necessary.
Before you apply the paste, wet the floor surface by turning the shower on and let it drain. Then apply the paste.
Below, we’ll discuss some thoughts on why this mixture works, why you should avoid using bleach and some tips for cleaning your grout quickly and effectively with a toothbrush!
Baking soda + hydrogen peroxide + dish liquid = DIY grout cleaner
Why mix baking soda, hydrogen peroxide and dish liquid together to clean your grout? What makes these ingredients so special?
Baking soda has an abrasive quality that helps to lift dirt and brighten the grout.
Hydrogen peroxide also brightens and has anti-fungal properties but unlike bleach, it won’t damage your grout or tiles.
Dish liquid helps to remove soap scum and grime from the tiles and grout.
The combination of the three ingredients is easy to source and mix and is a cheaper and often more effective method than spray on chemical products.
Buy a few cheap toothbrushes from the dollar store and use then to physically apply and then scrub the paste as it will yield better results in my experience than using a scouring pad or towel.
A bit of elbow grease is required but it will tend to be noticeable in the final results.
Can I use a spray bottle to apply the paste to my grout?
In my experience, it depends on the thickness of the paste you make and how forgiving your spray bottle is. If you truly make a thick paste, it probably won’t work in a spray bottle as it’ll be too thick.
If you happen to use a spray bottle where the hose is too thin, the mixture you make may not travel up the hose and actually spray out, which is what I experienced with two different bottles I tried.
While spraying your cleaning mixture onto your grout is much quicker, if it’s able to be sprayed on, it means that it’s very thin and liquid. A paste is actually thicker and takes more time to apply but may yield better results as it’s more likely to stick on the grout during the 10 minute waiting time before you scrub it off.
In my experience, if you mix your cleaning solution in the 1/2 cup baking soda, 1/4 cup hydrogen peroxide and 1 teaspoon dish liquid amount, you’ll end up with a liquid-paste that will pour but may be too thick for a spray bottle.
In this case, use a toothbrush(es) to apply the paste, let it sit for 10 minutes, and then scrub it with the toothbrush before rinsing if off, to achieve the best results.
What about using bleach or vinegar on shower tiles and grout?
Your best bet is to avoid using bleach or vinegar on shower tiles and grout due to the damage they can cause over time.
Bleach (and ammonia or products with either ingredient) should be avoided on tiles and grout. Bleach can damage grout over time and can erode damaged grout. Also, bleach tends to leave a film on the grout which can actually make grout dirtier by attracting dirt which is able to attach itself more easily.
Vinegar can damage unfinished grout as well as old, damaged grout that has holes. Over time vinegar can eat away and etch the grout which is why it should be avoided.
Using the suggested mixture of baking soda, hydrogen peroxide and dish liquid is a safer option and it works, too.
Note: Mixing hydrogen peroxide with baking soda produces an oxygenated form of bleach but without the harshness and damaging properties that commercial bleach can cause.
Summary
Cleaning dirty and brown-colored shower tile grout takes a bit more than just spraying some chemical and wiping it away with a towel. But using a homemade paste applied and scrubbed with a toothbrush tends to be the best, easiest and most cost effective way to do so, while avoiding using harsh chemicals.
Here are the steps involved:
- Mix together 1/2 cup of baking soda, 1/4 cup of hydrogen peroxide and 1 tablespoon of dish liquid. Double each amount if you require more for a larger area.
- Wet the shower tiles and the overall area to be cleaned with water.
- Apply the paste with a toothbrush to the tiles and let it sit for 10 minutes or longer.
- Scrub the tiles with the toothbrush and apply remaining paste to further scrub the tiles.
- Rinse the tiles and repeat the cleaning process if necessary.
Final thoughts
If after cleaning several times you still notice the tiles aren’t white, it is possible that you have in fact reached the natural color of the grout and won’t get it cleaner than what it is. The builders who did the grout work may have used an off-white grout so no amount of cleaning will whiten it any more than what you already have.
Take a before picture of your tiles and grout prior to cleaning and compare it to the final pic to be sure.
Because your tiles will of course get dirty again over time, you will need to use this cleaning process regularly.